Electric Fan for my 1991 Chevy S-10 Pickup
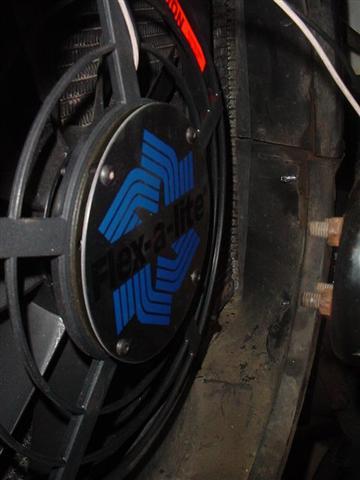
This is a modification I had been wanting to do for a while now, especially after the huge success we had installing an electric fan on my father's 2000 S-10 4x4. Of course there are two routes to take installing a fan, the cheap used route and the new expensive route. I chose the latter as the price isn't too bad for a system that has everything you need to install. I chose the Flex-a-lite 110 puller fan. While only rated for 1250 cfm (engines up to 110 HP), my 2.8L isn't a barn burner and for the colder climate I live in, it should be fine. Total package cost was $130 with shipping from www.summitracing.com. (This is an FYI walk though, and not a step by step process).
First thing, after opening the box and digging all the stuff out, is draining about 3 inches of coolant out of the radiator. You'll want to do this as the temperature probe wants to live in the upper radiator hose connection to the radiator, and this will save you from spilling coolant everywhere. Second, remove the upper fan shroud.
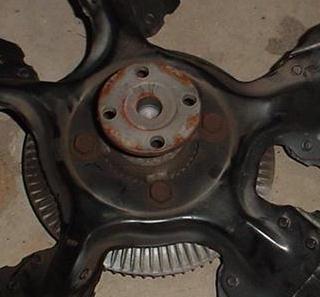
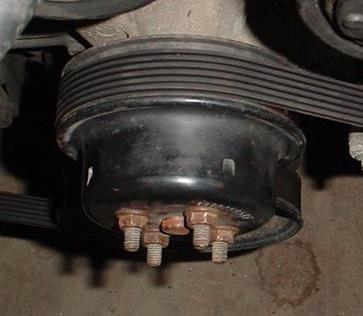
Once the shroud is off, you'll want to remove the old mechanical fan. It's held on by 4 nuts that also hold on the belt pulley to the water pump, so when the fan is removed, you'll need to return the nuts so pulley stays on the pump.
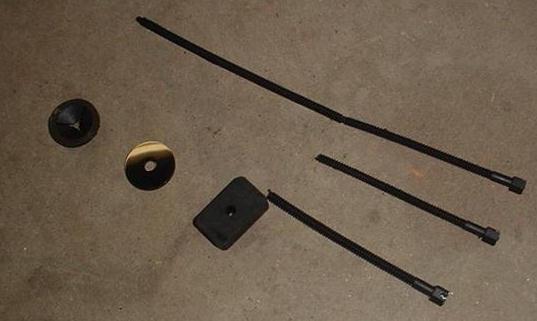
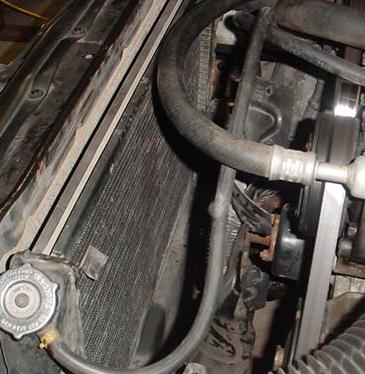
This is a universal kit so there are two ways to connect the fan to the radiator...mounting brackets or what I used, these little nylon bolts through the radiator. Using a phillips head screwdriver, you move the little fins apart to make a hole, then you can slip the bolt through, the hex head fits into a hex slot on the fan and you tighten down the whole thing using the rubber spacer, a plastic washer, and then the plastic nut. The upper picture shows the completed assembly (radiator on top, AC condenser on bottom.) There is enough space between the radiator and the AC condenser for the nuts, so that's not a problem. You will need to cut your nylon bolts to length, as I did in the lower picture. This is also a good time to clean out any debris that may be between your radiator and AC condenser.
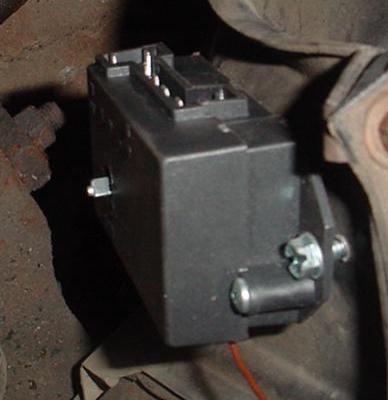
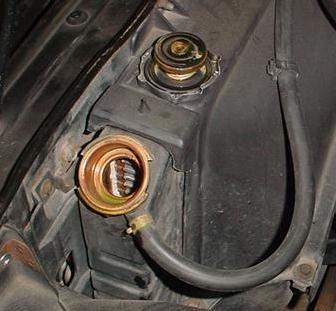
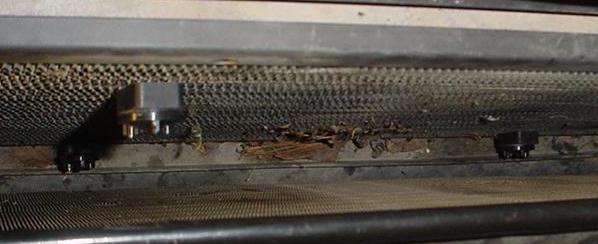
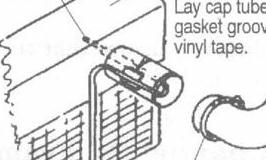
Once the fan is physically installed and everything is clear, you can install the upper fan shroud. Next is mounting the control box, which in my case was tough to find a good place for. It has to be within about 1.5 feet of the upper radiator hose and with all the AC lines all over the place, the only spot that was free was to the lower fan shroud. Why it needs to be so close is the temperature sensing bulb goes into the upper radiator hose, (copper line in the bottom of the first picture). They provide a little rubber "wedge" that allows the copper line out without, in theory, letting coolant leak. Time will tell how well it works. In the left picture, you can see the electrical connections. The silver knob on the left allows you to set the temperature the fan turns on at (it gets a black knob I have yet to install in the picture). The right picture shows the mechanical fan connection (rusty nuts), the new fan, and the silver thing on the lower shroud is one of the support bolts for the control box. The instructions provide a good diagram shown below.
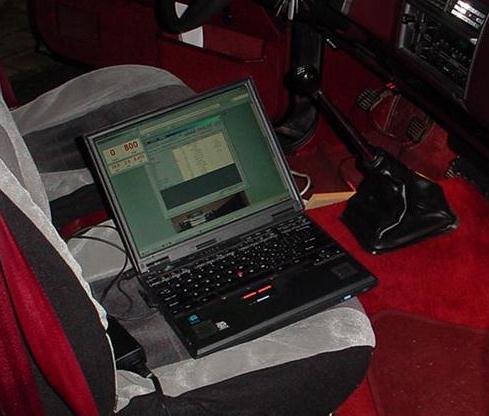
Everything else is electrical - I connected the 12v power to the positive terminal of the battery via the provided 20 Amp fused line, grounded the unit off a fender bolt, wired the control box to the fan motor, and ran a 12v "Key On" power signal that keeps the fan from running when the truck is off, and provided a connection to the AC clutch. The kit includes all the connections you'll need. The above picture is me using WinALDL on my laptop to set the temperature the fan operates and to verify my dash gauge.
A few things I didn't like were 1) The control box isn't weather tight, so I'm gonna need to come up with a method of keeping it dry. 2) Besides the fan motor connections, nothing is weather tight. 3) I prefer the "in the radiator fins" temperature sensing bulb vs. the "in the radiator" temperature sensing bulb. It took me a couple tries to get a water tight connection and I think it's the weak link in the system. I was able to use heat shrink tubing on a lot of the connections, but that keeps this good kit from being great. Install time was a few hours split over two days. A project I did in conjunction with this were my driving lights which can be viewed HERE. It shows where I tapped into my "key on" power source.